
Today, we will show how to install Anaconda and how to use YAML files for versioning environments.
Anaconda is a distribution of the Python for machine learning and data science that simplifies package management and deployment. It is an invaluable tool for controlling the versioning of packages in your code environments.
This post will help avoid a common problem faced by new users: "Why can't I see the GPUs from Anaconda?". The issue is due to how Anaconda sets up its own paths and environment. The steps below will avoid this problem altogether.
1) Download Anaconda
Anaconda can be found at: https://www.anaconda.com/products/individual
Example of the download and install:
$ wget https://repo.anaconda.com/archive/Anaconda3-2021.11-Linux-x86_64.sh
$ sh Anaconda3-2021.11-Linux-x86_64.sh
2. Create a YAML file
This is optional, but is recommended to allow more control and ensure current drivers for NVIDIA builds.
Example YAML file called: tf-gpu-2.5.yaml
name: tf-gpu-2.5

channels: - conda-forge - nvidia - defaults dependencies: - cudatoolkit==11.1.1 - cudnn - nccl - pip - pandas - matplotlib - python==3.8.5 - scikit-learn - pip: - networkx - tqdm - matplotlib - pydot - graphviz - tensorflow>=2.5 - tensorflow-gpu
3. Create and activate environment using the YAML file
# Use the YAML file to install the environment
$ conda env create -f ~/Downloads/tf-gpu-2.5.yaml

# List your environments
$ conda env list
base                     /home/user/anaconda3
tf-gpu-2.5               /home/user/anaconda3/envs/tf-gpu-2.5

# Activate this
$ conda activate tf-gpu-2.5
(tf-gpu-2.5) :~$
4. Confirm Python version and GPU availability
# Sample python script:

# Get the Tensorflow version:
import tensorflow as tf
print("\nTensorflow version: ",tf.__version__, \
   "\nTensorflow file: ",tf.__file__)' # Check that you can see the GPUs: print('Num GPUs Available: ', \ len(tf.config.experimental.list_physical_devices('GPU')))"
5. Running Jupyter Notebook
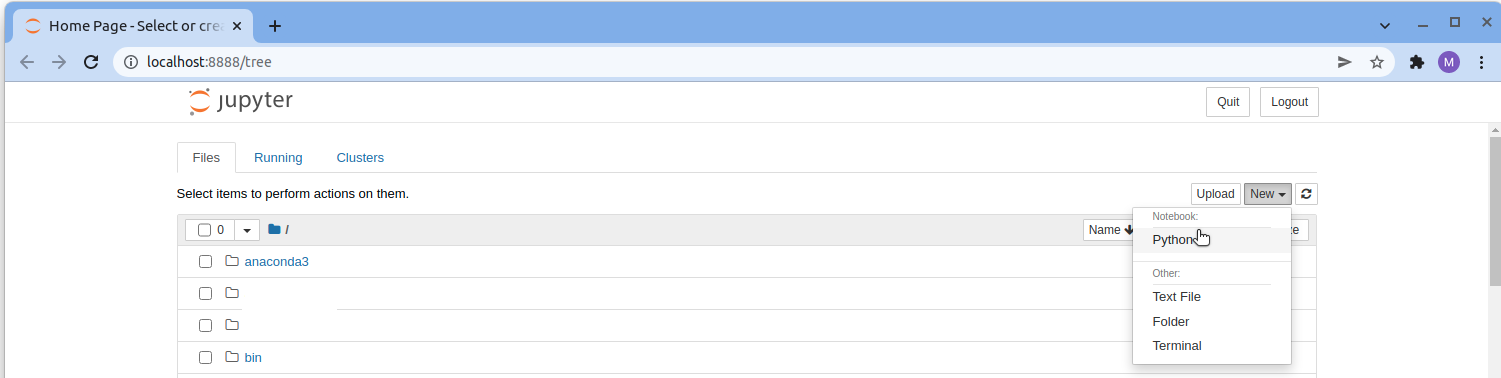
(tf-gpu-2.5) :~$ jupyter notebook
  .. prints info .. and pulls up a browser ..
   To access the server, open this file in a browser:
   file:///home/user/.local/share/jupyter/runtime/jpserver-3133340-open.html
   Or copy and paste one of these URLs:
   http://localhost:8888/lab?token=4a0cdcb1cb6bae14848e26b5bab7712b79206b134d40b30e
   or http://127.0.0.1:8888/lab?token=4a0cdcb1cb6bae14848e26b5bab7712b79206b134d40b30e

If you are on a remote server, you can either use openssl to make a key and a valid IP address, or use a ssh tunnel to securely connect.
6. Setup a ssh tunnel for remote server
1. Note, the port (like 8888) that was used when jupyter notebook started up.

2. Make a ssh tunnel to the server for the port:
   # From local desktop:
     $ ssh -N -L 8888:localhost:8888 <gpuserver>

   # example from local desktop with port 8888:
     $ ssh -N -L 8888:localhost:8888 192.168.0.188

3. To open the notebook up in the local host browser:
   # Then on you desktop/notebook:
   Paste the following URL (Found above from jupyter lab):
     http://localhost:8888/lab?token=.....................
     Where the '....' is the token provided by jupyter lab
7. Common questions and debugging
a. Why are the GPUs not seen?
  - Commonly this is if cudatoolkit was not installed in the
    Anaconda environment.
b. Many various issues with versions, check the following:
  - See what is installed with conda, conda list
     example: (tf-gpu-2.5) :~$ conda list
  - See what is installed with pip:
     example: (tf-gpu-2.5) :~$ pip -v list
  - Commonly requirements list unneeded dependencies.
  - protobuf version change (upgrade or downgrade).
8. Common Anaconda commands
a. Search for versions:
    conda search -c nvidia cudatoolkit
    conda search -c nvidia tensorflow
    conda search -c nvidia tensorflow-gpu
b. Create a environment:
    conda env create -f ~/conda-yaml/tf-gpu.yaml
c. List environments:
    conda env list
    conda info --envs
d. Using the environment:
    conda activate tf-gpu
e. Stop using/deactivate the env:
    conda deactivate
f. Removing a environment
    conda env remove -n <name>